
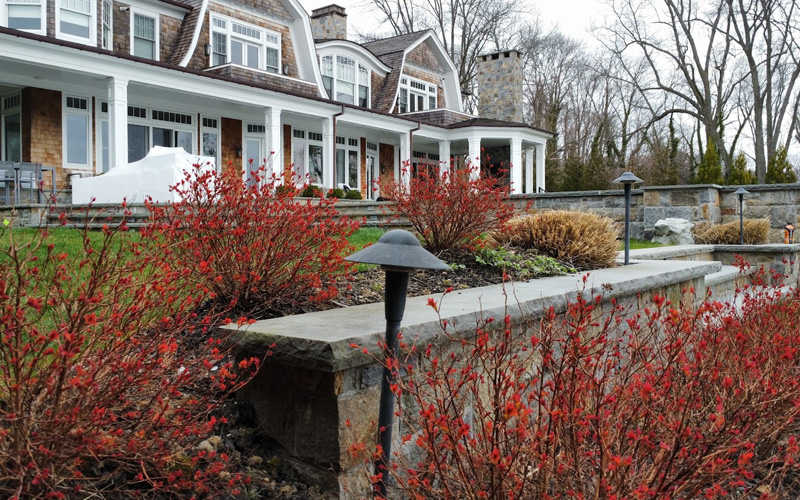
To prepare outdoor lights for a Nebraska winter, walk the system after dark and note what is out, switch off the power and clean the fixtures, replace failing lamps, rebury any wire the ground has pushed up, check connections and seals, reset the timer for the new sunset, re-aim for bare trees and icy walks, and mark the fixtures in the snow removal path. Finish before the first hard freeze, which in this part of the state usually arrives in October.
A well-designed lighting system is planned around the architecture, the landscape, and how people move through the property after dark. Winter tests all three. The trees lose the canopy the lighting was built around, the nights get six hours longer, and ice makes every step the most important part of the yard. Fall preparation is how a system that looked intentional in July still looks that way in January.
We run this check on properties across the metro every fall, and have since 2011. Midwest Lightscaping designs, installs, and maintains outdoor lighting for homeowners, builders, architects, and commercial properties in Omaha. Our team brings nearly 40 years of combined lighting and landscaping experience, and we have earned a Best of Omaha award every year since 2015.
When to Prepare Outdoor Lights in Nebraska
Aim to finish by the end of September or the first week of October. UNL CropWatch places the first 32°F freeze in southeast Nebraska in early to mid-October in a typical year, with a 90% chance it has happened by the end of the month.
That date matters most for one step. Wire that needs reburying has to go back into the ground while the soil is still workable, and once it freezes, that repair waits until spring. Everything else can be done later, though cold and early darkness make each step slower.
What Winter Does to an Outdoor Lighting System
Six problems account for nearly every winter service call we take. Each one is prevented by a step in the checklist below.
| What fails | Why it happens | Which step prevents it |
| Moisture inside a fixture | A cracked lens or worn gasket lets water in, and it freezes and expands | Step 5 |
| Wire pulled to the surface | Ground that freezes and thaws pushes shallow wire and stakes upward | Step 4 |
| Snapped or buried path lights | A plow blade, snowblower, or shovel catches a fixture nobody could see | Step 8 |
| Pitted, corroded housings | Deicing salt carries off the street and driveway onto nearby fixtures | Step 8 |
| A dark yard at 5 p.m. | The timer is still running on an August schedule | Step 6 |
| Dim, yellowed light | Leaves, grime, and hard water film on the lens | Step 2 |
How to Prepare Outdoor Lights in Eight Steps
Step 1: Walk the System After Dark (DIY for Owners)
Turn the lights on and walk the whole property after dark. Note every fixture that is out, dim, flickering, or pointed somewhere it should not be. A fixture that looks perfect at noon may not be working at nine in the evening.
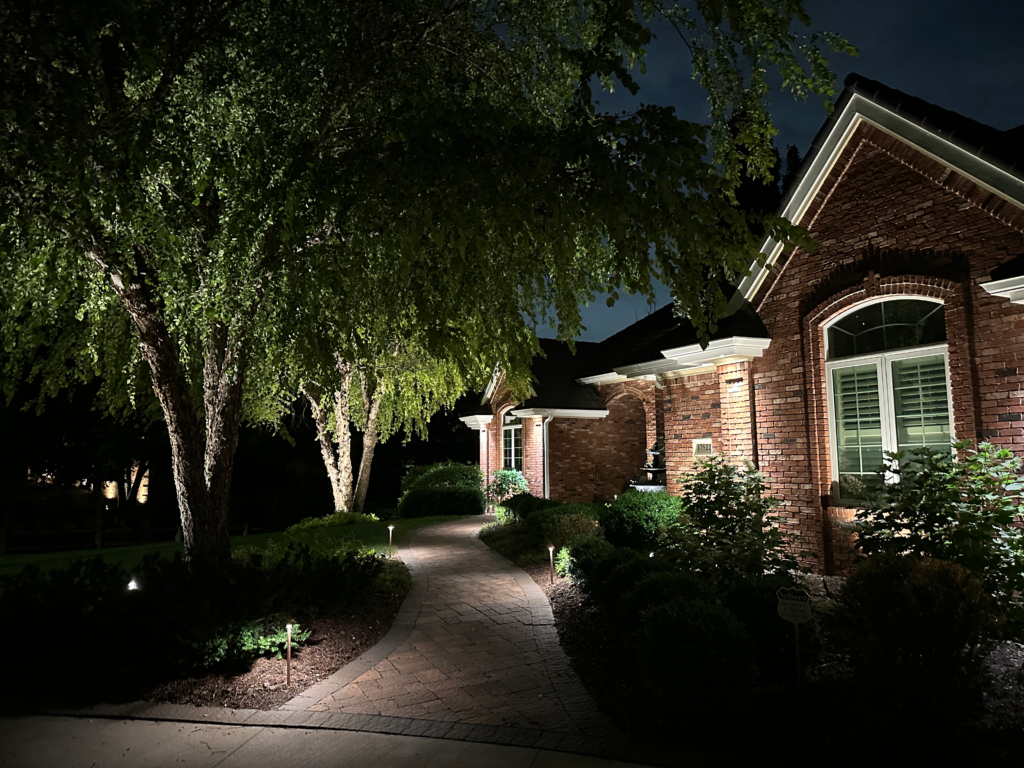
Look at the property as a whole too, not only fixture by fixture. A yard can have every lamp working and still look unbalanced if one area has gone dim or one light has been knocked out of aim. Every step that follows depends on this walk. On a fall service visit, we start here and photograph what we find, because it is the clearest record of how the system looked before the season began.
Step 2: Switch Off the Power, Then Clean the Fixtures and Lenses (DIY for Owners)
Switch the system off at the transformer before you start, and unplug it if you plan to open a fixture. Low-voltage lighting carries far less risk than household wiring, but it is still live current in wet ground, and switching it off is the first thing we do on every service visit.
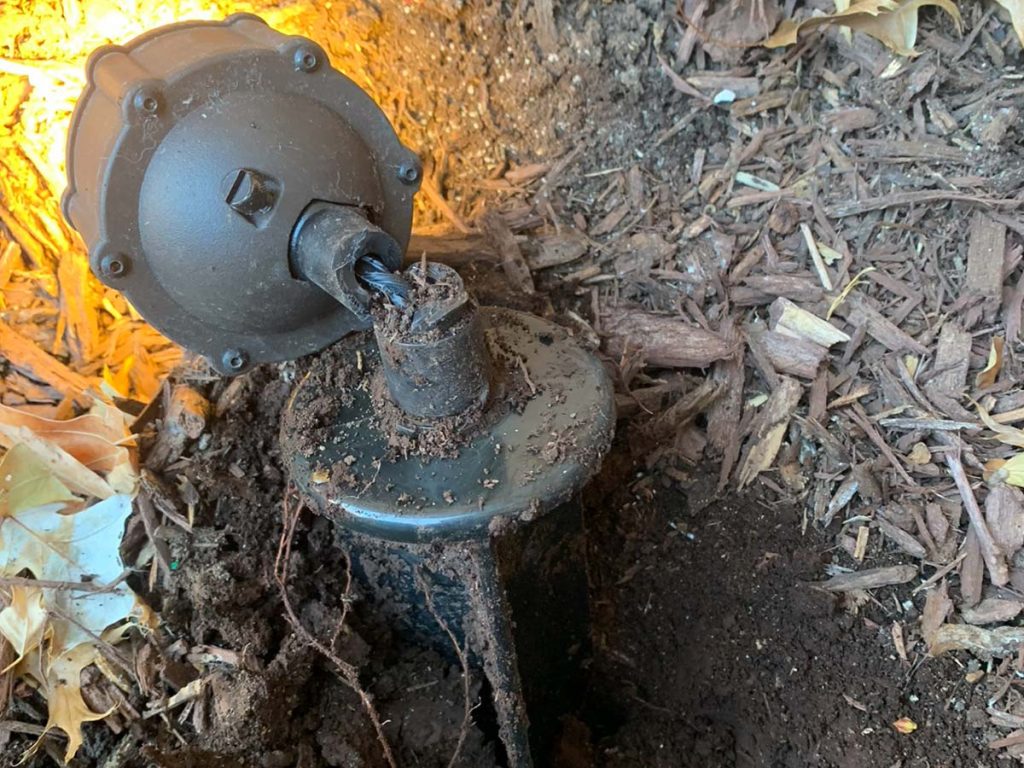
Then pull leaves, mulch, and debris away from each fixture, and wipe the lenses with a soft cloth and mild soap. Grime builds up slowly enough that most people do not notice how much light they have lost until the glass is clean again.
This matters more in winter than in any other season, because the lights run about 15 hours a night in December against nine in June. It is the simplest step on the list and it returns the most light, which is why we do it even on systems we installed the year before.
Step 3: Replace Failing Lamps With an Exact Match (Leave to Professionals)
Replace anything from your list that is dead, dim, or flickering. On a low-voltage system, one failing lamp is not an isolated problem. When it quits, the other lamps on that line take on the extra load, which shortens their life too.
Match what was there. A lighting design is balanced lamp by lamp, through brightness, beam spread, and color temperature. A replacement that is a little brighter, a little wider, or a little cooler in color pulls the whole yard out of balance. It is one of the most common ways a well-designed system slowly stops looking designed. On the systems we maintain, every replacement matches the original specification.

If your system still runs halogen lamps, fall is a good time to move to LED. LEDs reach full brightness instantly in the cold, last many times longer, and take load off the transformer through the longest nights of the year. Treat the conversion as a design decision, not a bulb swap, so the new lamps keep the warmth and beam spread the property was designed around. Some older transformers also do not work well with the lower load LEDs draw, which shows up as flickering or lights that will not come on.
Step 4: Rebury Wire the Ground Has Pushed Up (Leave to Professionals)
Walk the wire runs and look for cable at or above the surface. Ground that freezes and thaws lifts shallow cable a little each year, and once it is exposed, it is within reach of shovels, snowblowers, and rodents looking for shelter.
Bury what you find at least six inches down, before the ground hardens. If the outer jacket is cut or copper is showing, have it repaired properly rather than patched. A taped splice underground will fail eventually, and it usually fails in the middle of winter.
Step 5: Check Connections, Seals, and the Transformer (Leave to Professionals)
Look for water inside lenses, loose or missing lens screws, split gaskets, and connections that are not properly sealed. Check that the transformer door closes tightly, that the cover on the outlet feeding it is intact, and that the outlet still trips and resets.
Water that gets into a fixture in October freezes in December, and the lens or the socket fails with it. Some of this is simple to fix yourself. Tighten loose lens screws, replace a split gasket if the manufacturer sells one, and if a fixture has water inside, open it and let it dry fully before closing it.
What you find at the connections also tells you how the system was built. On a properly installed system, every connection is made with a sealed, waterproof connector. Tape or bare twist-on connectors are a sign the system was installed to a lower standard, and they are the most common cause of the winter failures we are called out to repair. Replacing them is work for a professional, along with anything below ground and anything inside the transformer.
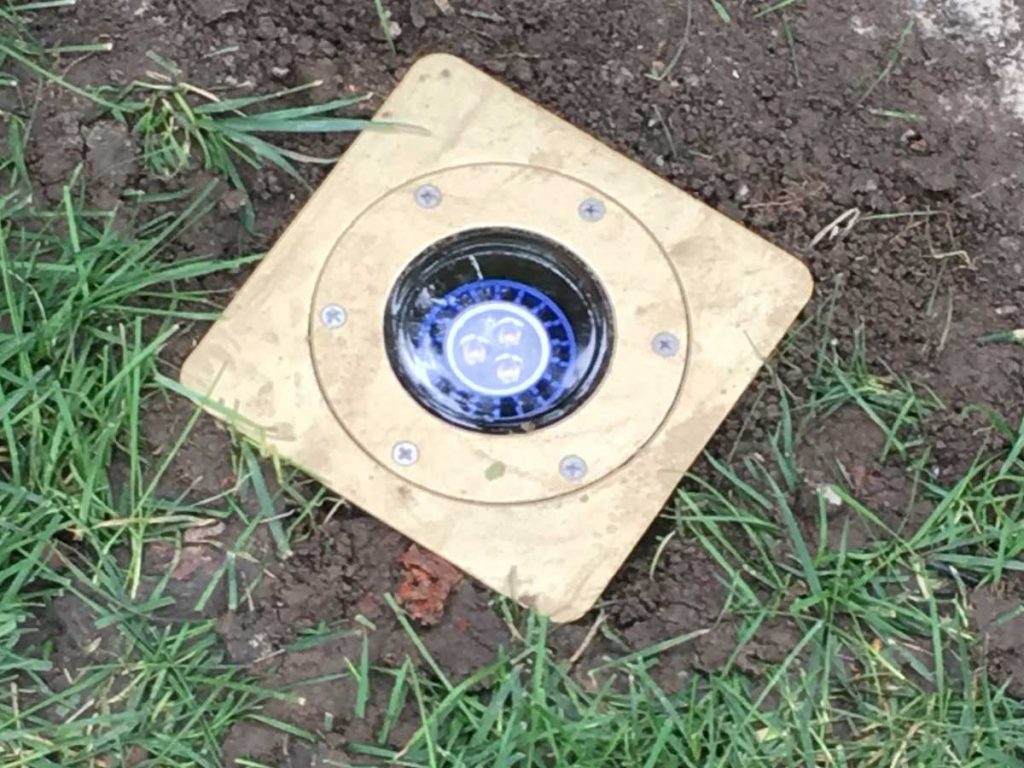
Step 6: Reset the Timer for Winter Sunset (Leave to Professionals)
Daylight saving time ends in early November, and by December the sun sets here before 5 p.m. A timer still set from summer leaves the property dark through the busiest part of the evening.
The fix is a controller that follows sunset rather than a fixed clock time, using either an astronomical timer or a photocell, so the schedule adjusts itself as the days shorten. Every system we install works this way, and our Designer Package puts the schedule on your phone, so changes can be made without a trip to the transformer. If the power goes out during a storm, check that the schedule is still correct once it comes back.
Step 7: Re-Aim for Bare Trees and Icy Walks (Leave to Professionals)
A tree without leaves needs a different aim than the same tree in July. An uplight that filled a full canopy now passes straight through bare branches, into a window or up into the sky.
Walk the property after dark a second time and look for any fixture producing glare instead of lighting its subject. The usual fix is to aim lower, onto the trunk and bark, and let the evergreens carry more of the composition.
On the same walk, look at the ground. Safe movement is part of every lighting design, and winter is when it matters most. Steps, slopes, the edges of the drive, and anywhere meltwater runs and refreezes overnight should be clearly lit. A path light angled toward a flower bed in summer may need to turn back toward the walk. Where one fixture cannot light a set of steps without glare, a low step light does the job better than a brighter fixture aimed at the problem.
Aim is what keeps a property looking intentional in January as well as in July, which is why we treat it as a design decision rather than a maintenance task.
Step 8: Mark and Protect Fixtures in the Snow Removal Path (DIY for Owners)
Identify every fixture along the driveway, the walks, and anywhere a plow or snowblower runs, and mark each one with a tall fiberglass stake so it stays visible under snow. Make sure your snow removal crew knows where they are.
Salt is the slower problem. Deicers corrode metal, and fixtures near a plowed street or drive take the spray all season. For fixtures in that zone, we specify brass or copper rather than aluminum and set them back from the pavement, because those materials hold up to years of exposure in a way aluminum does not.
What to Do Once the Snow Is Down
Brush snow off fixtures with a soft broom, never a shovel or anything metal. A cold lens is brittle, and most of the cracked lenses we replace in winter were broken by someone clearing them.
A path light buried in snow is usually not at risk. LED fixtures do not make enough heat to melt their way clear, but they will not overheat under snow either. Clear them when you can and leave them when you cannot.
Leave the lights on through an ice storm. Switching the system off protects nothing, and a lit property is safer to walk and easier for anyone to find.
If a fixture goes dark in January, note which one and when. A single light out is usually just the lamp. A whole group going dark at once points to a connection or the transformer, and that is worth a service call rather than troubleshooting in the cold.
For Commercial Properties and Design Professionals
On commercial, hospitality, and senior living properties, winter lighting is about people as much as appearance. Entries, walkways, parking areas, and steps carry steady foot traffic after dark, often from guests or residents who do not know the grounds well. Check those areas first in the fall, and walk them again after every major storm.
For builders, architects, and landscape designers, the first winter is when a new installation shows whether the design holds up. A project handed over in summer has never been seen with bare trees and early darkness. Walking it after dark in November confirms that the aim, the balance, and the schedule still work the way the design intended.
Which Steps to Leave to a Professional
Steps 1, 2, and 8 are straightforward for any property owner. Walking the system, cleaning the fixtures, and marking them before the snow arrives take no tools and no electrical knowledge.
Steps 3, 4, 5, and 7 are where it pays to bring us in. Matching lamps to the original design, repairing wire, replacing connections, transformer work, and re-aiming all have real consequences when they are done poorly. A bad underground connection usually shows up as a whole group of lights going dark in midwinter, and re-aiming takes judgment about the finished picture, not just access to the fixture.
We handle the full assessment as one fall service visit. With ongoing outdoor lighting maintenance, it happens every year, so a system that was designed carefully still looks that way in its fifth winter.
Frequently Asked Questions
Do LED landscape lights work below zero?
Yes, and they handle cold better than older lamp types. LEDs produce light without relying on heat, so they reach full brightness immediately in freezing temperatures. The U.S. Department of Energy notes that LED outdoor fixtures are tested to withstand rain and snow in exposed locations.
Should I bring landscape lights inside for the winter?
No. Permanently installed low-voltage fixtures are built to stay in the ground year-round. Removing them creates more problems than it solves, including open wire ends and lost aim. Only portable or seasonal fixtures come inside.
Do solar lights work through a Nebraska winter?
Not reliably. Solar fixtures need direct sun on the panel to charge; our shortest days run about nine hours, and snow regularly covers the panels. They charge least in the months that need the most light. They also rarely match the color and beam quality a designed system calls for, which is why wired low-voltage systems are the standard here.
Will running my lights longer in winter raise my electric bill?
Not meaningfully on an LED low-voltage system. These systems draw a small fraction of the power that standard household fixtures do, so the extra hours in December and January add very little. The longer nights use up lamp life rather than power, and quality LEDs are rated for years of nightly use.
Can landscape lighting be installed in winter, or do I have to wait for spring?
It depends on the ground. Once the soil is frozen, trenching and staking are not practical, so most new installations wait for the thaw. Design work does not have to wait. Winter is a good time to plan a system, because bare trees and long nights show the property at its most demanding, and the design is ready to install as soon as the ground opens up.
How often should an outdoor lighting system be serviced?
Once a year is the baseline in this climate, scheduled in fall so the system is right going into the darkest months. Properties with mature trees, heavy snow exposure, or an older system are often better served by a second visit in spring to correct whatever the winter moved.
Should holiday lights go on the same system as my landscape lighting?
No, they run on separate power. What they should share is a schedule, so the roofline and the yard lights come on and turn off together instead of at different times. Permanently installed roofline lighting solves this by running both looks from one controller, with no ladder work in December.
Getting Your Outdoor Lighting Ready for Winter
Preparing outdoor lights for a Nebraska winter comes down to eight steps and one deadline. Walk the system after dark, switch it off and clean it, replace failing lamps with exact matches, get the wire back underground, seal what water can reach, reset the timer, re-aim for bare trees and icy walks, and protect the fixtures where snow gets moved. The wire work has to be done before the first freeze in October.
If you would rather have it handled for you, our fall service calendar opens in late August and fills in as order requests come in. Call Midwest Lightscaping at (402) 509-2810 or email info@midwestlightscaping.com.